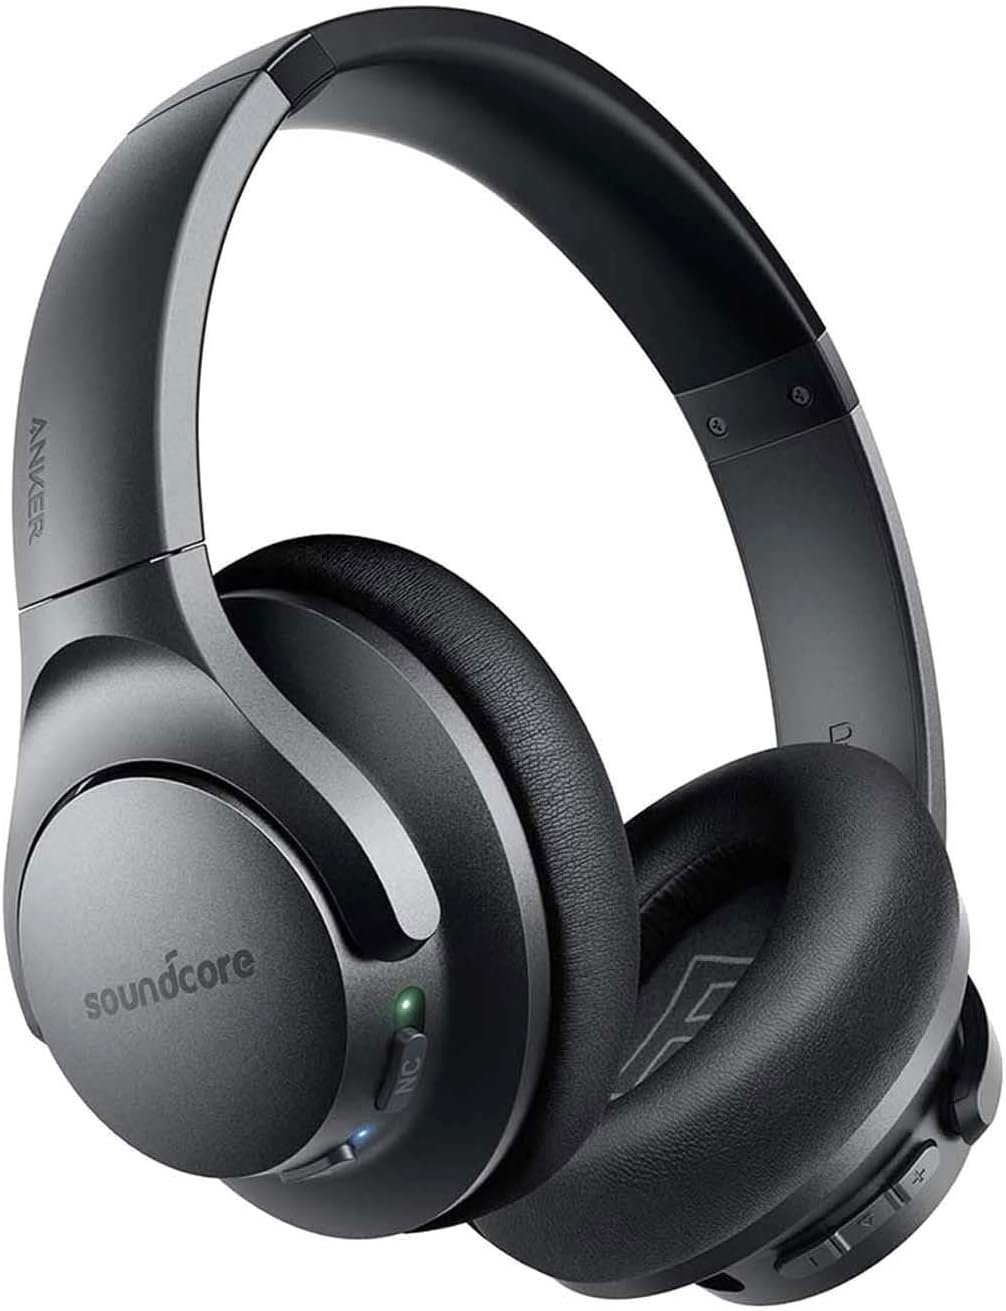
Did you know that your headphones can harbor up to 10 times more bacteria than a toilet seat? This shocking fact underscores the importance of keeping your Bluetooth noise-canceling headphones clean, not just for optimal sound quality but also for your health. As we rely on these devices to enhance our daily lives, especially in bustling environments, it’s crucial to ensure they’re free from dirt and germs. In this step-by-step guide, we’ll provide you with easy-to-follow instructions to effectively clean your headphones, helping you protect both your listening experience and your well-being.


Gather Your Cleaning Supplies
Gather all your cleaning supplies before diving into the task. This ensures you have everything you need within reach, making the cleaning process smooth and efficient. Here’s a list of essential items you’ll want to collect:
- Microfiber cloth: Excellent for trapping dust and dirt without scratching surfaces.
- Cotton swabs: Perfect for reaching tight spots and corners where dirt may accumulate.
- Soft brush: Useful for gently dislodging dust from delicate areas or surfaces.
- Isopropyl alcohol or disinfectant wipes: Ideal for sanitizing surfaces and killing germs effectively.
- Small bowl of warm soapy water: Great for cleaning stubborn stains or residues.
Once you’ve gathered these supplies, you’ll be ready to tackle your cleaning project confidently and thoroughly. Keep everything organized and easily accessible to streamline your efforts and make the cleaning process more enjoyable.
Power Off and Disconnect Headphones
Power off your headphones by locating the power button, usually found on the side or bottom of the ear cup. Press and hold the button until you see an indicator light turn off or hear a confirmation sound. This step is crucial to prevent any accidental activation while you’re cleaning.
Disconnect your headphones from any devices they are paired with. Open the Bluetooth settings on your smartphone, tablet, or computer, and select your headphones from the list of connected devices. Choose the option to disconnect or unpair. This ensures that your headphones won’t inadvertently connect during cleaning, which could result in unwanted audio playback or potential damage to both your headphones and connected devices.
Clean the Ear Cups
Dip the microfiber cloth into warm, soapy water, ensuring it’s just damp and not soaking wet. Wring out any excess moisture to prevent water from seeping into the ear cups. Gently wipe down the ear cups, making sure to cover all surfaces while paying special attention to the crevices where dirt and grime tend to accumulate. Use slow, deliberate movements to avoid damaging any delicate components.
For tougher grime that doesn’t come off easily, grab a soft brush or a cotton swab and dip it in isopropyl alcohol. Carefully scrub the affected areas, focusing on stubborn spots that need extra attention. The alcohol will help break down any residue without harming the materials, ensuring your ear cups remain clean and in good condition.
Clean the Headband
Wipe down the headband using the same microfiber cloth you used for the ear cups. Ensure the cloth is lightly dampened, not soaking wet, to avoid any excess moisture. Focus on the areas that come into direct contact with your skin, as these tend to accumulate oils and dirt.
Address any stubborn stains by dipping a cotton swab into isopropyl alcohol. Gently rub the stained area with the swab, applying just enough pressure to lift the stain without damaging the material. Make sure to clean just a small section at a time, and always check if the material reacts well to the alcohol before proceeding with larger areas.
Inspect and Clean the Charging Port
- Inspect the charging port for any visible dust or debris. Use a flashlight if necessary to check the far corners.
- Grab a dry cotton swab or a soft, clean brush. Ensure it is free from moisture or any cleaning agents.
- Gently insert the cotton swab or brush into the charging port. Avoid applying excessive pressure to prevent damage.
- Move the swab or brush in a circular motion to dislodge any dust or lint trapped inside. Be thorough but gentle.
- Remove any debris that comes loose, and ensure that no fibers from the swab or brush remain in the port.
- Double-check the charging port after cleaning to confirm it’s clear. If needed, repeat the cleaning process until the area is clean.
Allow to Dry and Reassemble
Allow your headphones to air dry completely in a well-ventilated area. Place them on a clean, dry surface, away from direct sunlight or heat sources. Ensure that all parts, including cushions and cables, are positioned to facilitate airflow, preventing moisture from being trapped inside.
Reassemble any removable parts once the headphones are thoroughly dry. Carefully align each component according to the manufacturer’s instructions, ensuring a snug fit. Check for any loose connections or misaligned parts before using your headphones again, guaranteeing optimal performance and comfort.
Tips for Maintaining Performance
In conclusion, we’ve shared some essential tips on how to clean your Bluetooth noise-canceling headphones effectively. By incorporating these simple steps into your regular maintenance routine, we can ensure that our headphones not only deliver the best sound quality but also enjoy a longer lifespan. Let’s keep our listening experience enjoyable and our headphones in top shape for many more adventures to come!

